Netlify builds the app from the code and serves it at an address your team opens. There is no server to run or update: when you take a new release, Netlify rebuilds by itself.
What it is
A website host. You point it at the code, tell it two addresses, and it does the rest.
Cost
The free plan serves a company of your size. Pro ($19 a month at the time of writing) adds password protection on the site and more build minutes; most owners move to it once the team is on.
Time
About 20 minutes.
You will need
The Project URL and publishable key you wrote down in the Supabase walkthrough, and the code (the GitHub repository you were given access to).
Part A: the code in your own GitHub
Open github.com and sign up with your company email if you have no account. Confirm the email.
Open the High Stakes CRM template repository: github.com/Enaybil/high-stakes-crm. It is private; we send the invitation to it from GitHub to the address on your receipt within one business day of your purchase. Press the green Use this template button, then Create a new repository.
Owner: you. Name: crm or your company name. Choose Private. Press Create repository. In half a minute you have your own copy of the code. Nobody else can see it.
Part B: the site
Open netlify.com, press Sign up, and choose Sign up with GitHub, so Netlify can read your repository. Approve the permission screen.
On the Netlify dashboard press Add new site, then Import an existing project, then GitHub. Pick the repository you just made.
On the settings page that follows: Build command is npm run build and Publish directory is dist. They are usually filled in already from the file in the code.
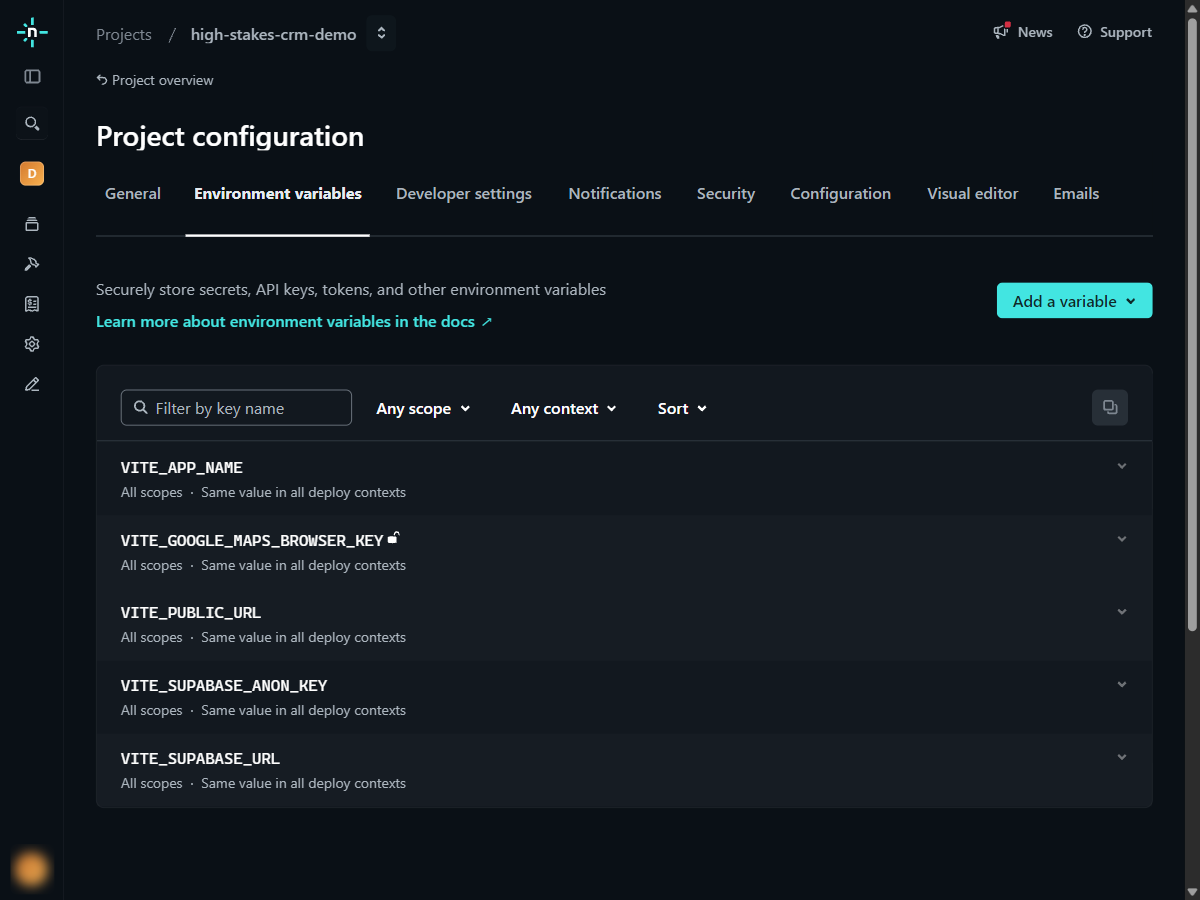
Before pressing Deploy, press Add environment variables (or Show advanced). Add these five, one at a time, exactly as written: VITE_SUPABASE_URL = your Project URL; VITE_SUPABASE_ANON_KEY = the publishable key; VITE_APP_NAME = what the tab should say, for example Blue Ridge CRM; VITE_PUBLIC_URL = the address the site will have (you can change it after the first deploy); NETLIFY_SITE = the site name without .netlify.app.
Press Deploy. The build takes about a minute. When it says Published, press the address at the top (something like random-words-123.netlify.app).
To choose a better name: Site configuration, then Change site name, for example blueridge-crm. The address becomes blueridge-crm.netlify.app. Update VITE_PUBLIC_URL and NETLIFY_SITE under Environment variables to match, and press Trigger deploy under Deploys so the build picks it up.
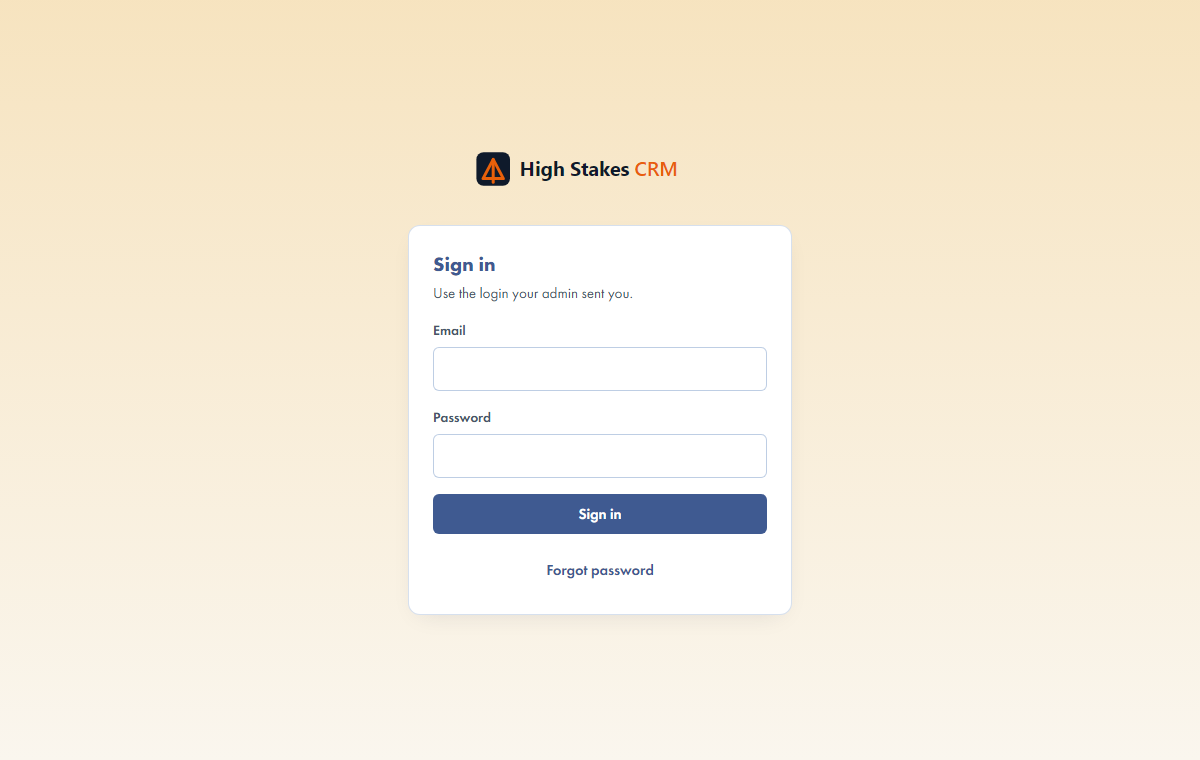
Open the address. You should see the sign-in page with the placeholder logo. Sign in with the login you made in Supabase. The setup guide opens.
Site configuration, Environment variables, after setup: the five from this page plus the browser key the Google Maps walkthrough adds later.What your address shows once Netlify has built it: the sign-in page. The first person to sign in is the admin.
The first build may show a notice that a map key is missing. That is expected until the Google Maps walkthrough; the app works without it, with no map.
Part C: your own domain (optional)
If you want crm.yourcompany.com: Domain management, Add a domain, type it, and follow the one DNS record it asks you to add at the company you bought your domain from. Netlify issues the certificate itself.
Then set VITE_PUBLIC_URL to the new address, trigger a deploy, and change the Site URL in Supabase (Authentication, URL Configuration) to match.
Done when: the address opens the sign-in page, and you can sign in with the Supabase login.