Set it up once. Own it for good.
High Stakes CRM runs on two accounts in your own name: a database at Supabase and a website at Netlify. This page is the whole job, in order. Each step opens a walkthrough written for someone who has never used the service, with every click, what it costs and how long it takes.
- Time
- About two hours of clicking, spread over a day or two while a couple of approvals come through. None of it needs to be done in one sitting.
- Cost
- About $45 a month to start: Supabase Pro ($25) and Netlify Pro ($19) at the time of writing. Texting, maps and card payments are pay-as-you-go and small. Nothing is paid to us after the license.
- What you need
- A credit card for the accounts, your company email, and the license ID from your receipt.
- Where you get stuck
- Write to the email on your receipt. Thirty days of support are included, and guided setup does all of this with you on one call if you would rather not.
Your install folder
One zip file, named after the version, with the database in numbered pieces, the starting data and the server programs. The guide refers to it as the install folder. Download it with the license ID from your receipt, unzip it anywhere you can find again (Documents is fine), and keep it: updates come the same way.
The download opens on launch day, December 1, 2026. The walkthroughs are open to read now, and the accounts can be made ahead of time.
The order
- Make the database. Supabase holds everything: your clients, orders, trucks and logins. Supabase walkthrough (40 minutes).
- Put the app online. Netlify serves the screens your team opens. Netlify walkthrough (20 minutes).
- Switch sign-ups off and make the first login. Nobody signs themselves up; you make your own login in Supabase and one SQL line makes it the admin. It is the last part of the Supabase walkthrough, and it comes before the app goes online.
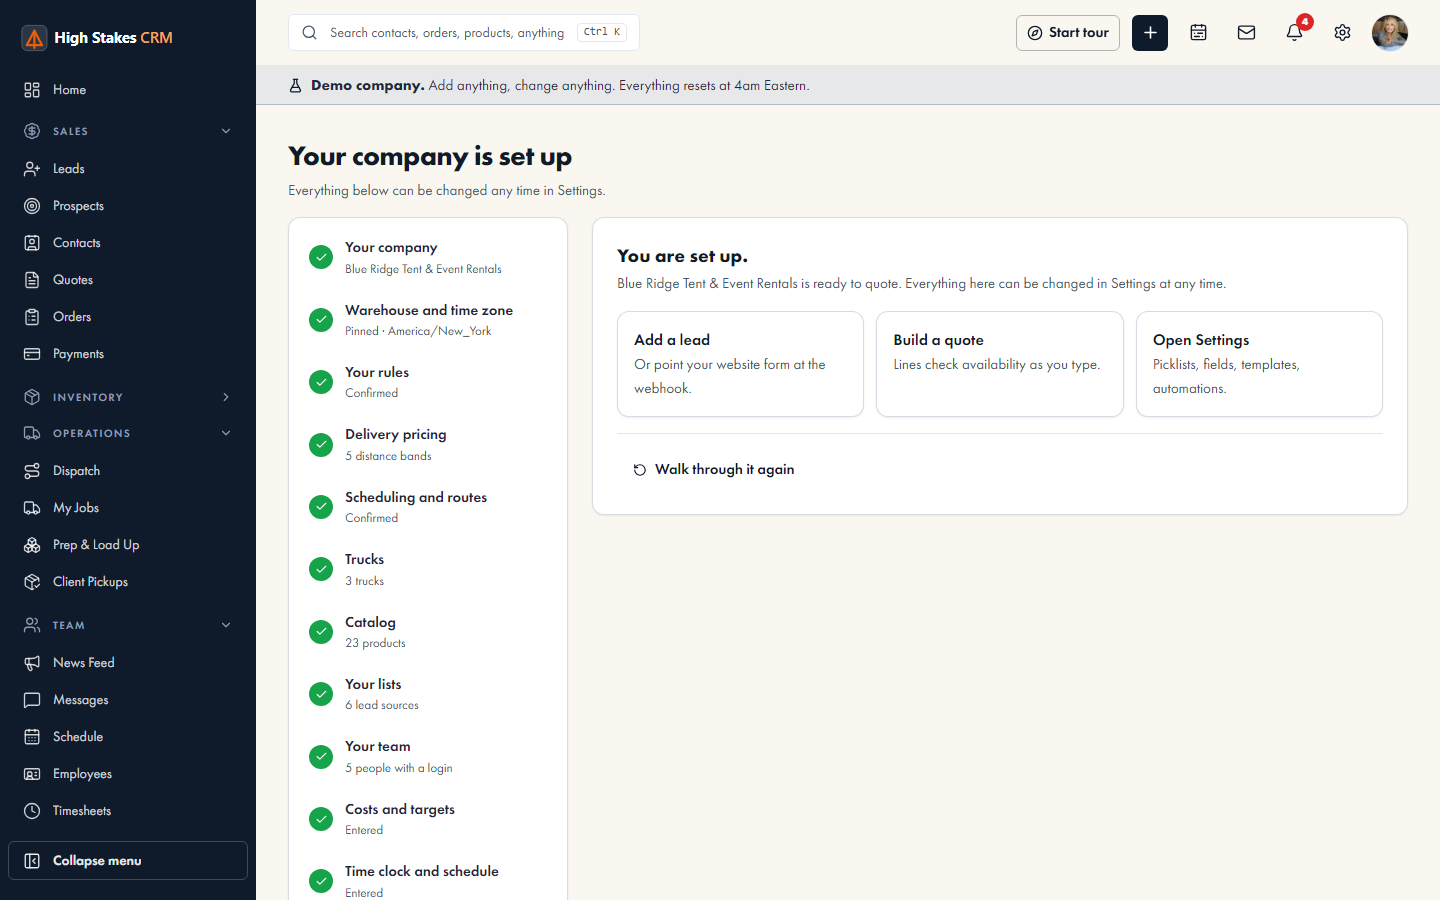
- Sign in and follow the setup guide inside the app. Sixteen steps, from your company name to a test quote, each with its own instructions. Everything it asks for can be changed later.
- Connect maps. Delivery distances, drive times and the route map need a Google Maps key. Google Maps walkthrough (30 minutes, plus a day for Google to approve billing if it is your first project).
- Connect texting. On-the-way texts and quote links to clients go through Twilio or RingCentral; one is enough. New to both: the Twilio walkthrough (30 minutes, plus up to a few weeks for the US carriers to approve your business for texting). Already on RingCentral: in the app, Settings, System, Connections, Phone, the RingCentral card, with your own RingCentral app's keys; your texting registration stays in your RingCentral admin portal.
- Connect card payments. Clients pay a deposit or a balance from their own link through Stripe. Stripe walkthrough (20 minutes).
- Turn on backups. Every record and file, every night, in a cloud bucket you own and kept forever. Backups walkthrough (10 minutes, a few cents a month).
- Connect AI tools, if you want them. Claude, ChatGPT or an ElevenLabs voice agent, reading your CRM as the person or key that connects. AI tools walkthrough (5 minutes per tool).
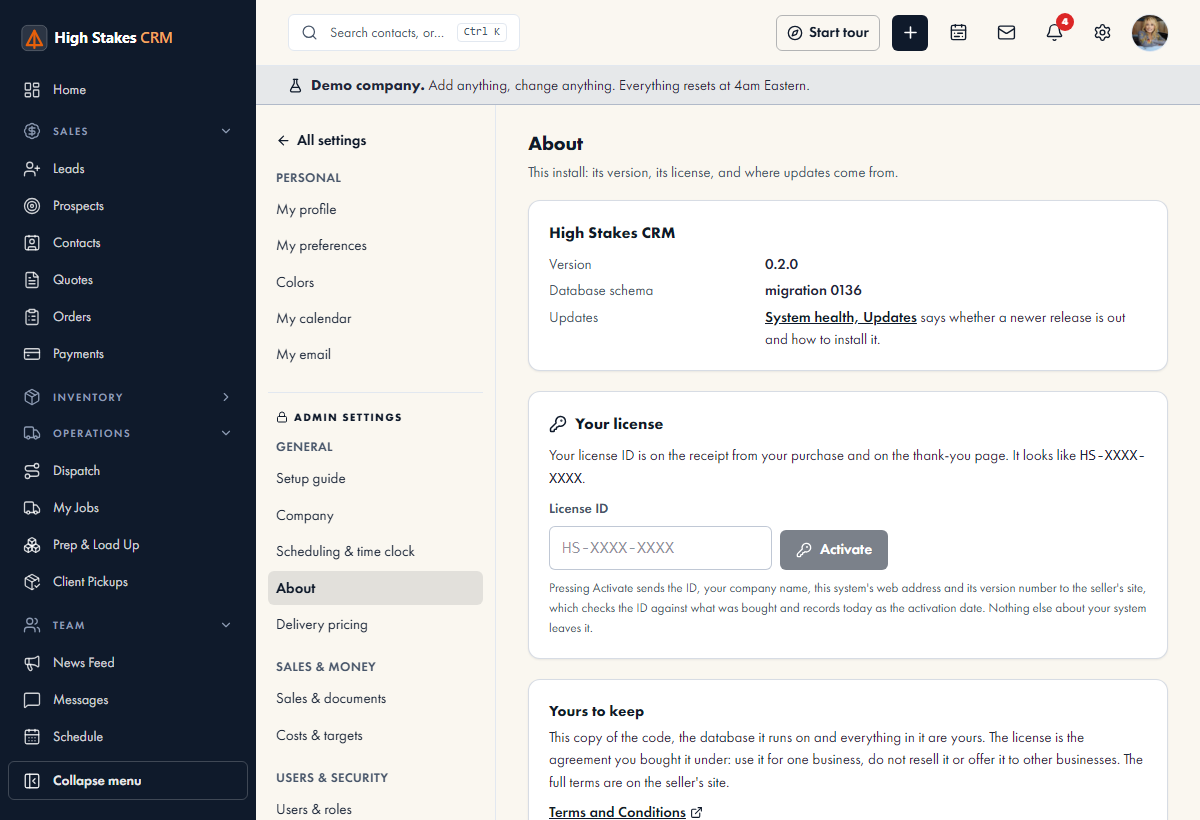
- Enter your license ID. Settings, Tools, About, in the app. It is on your receipt. Support and updates count from that day.
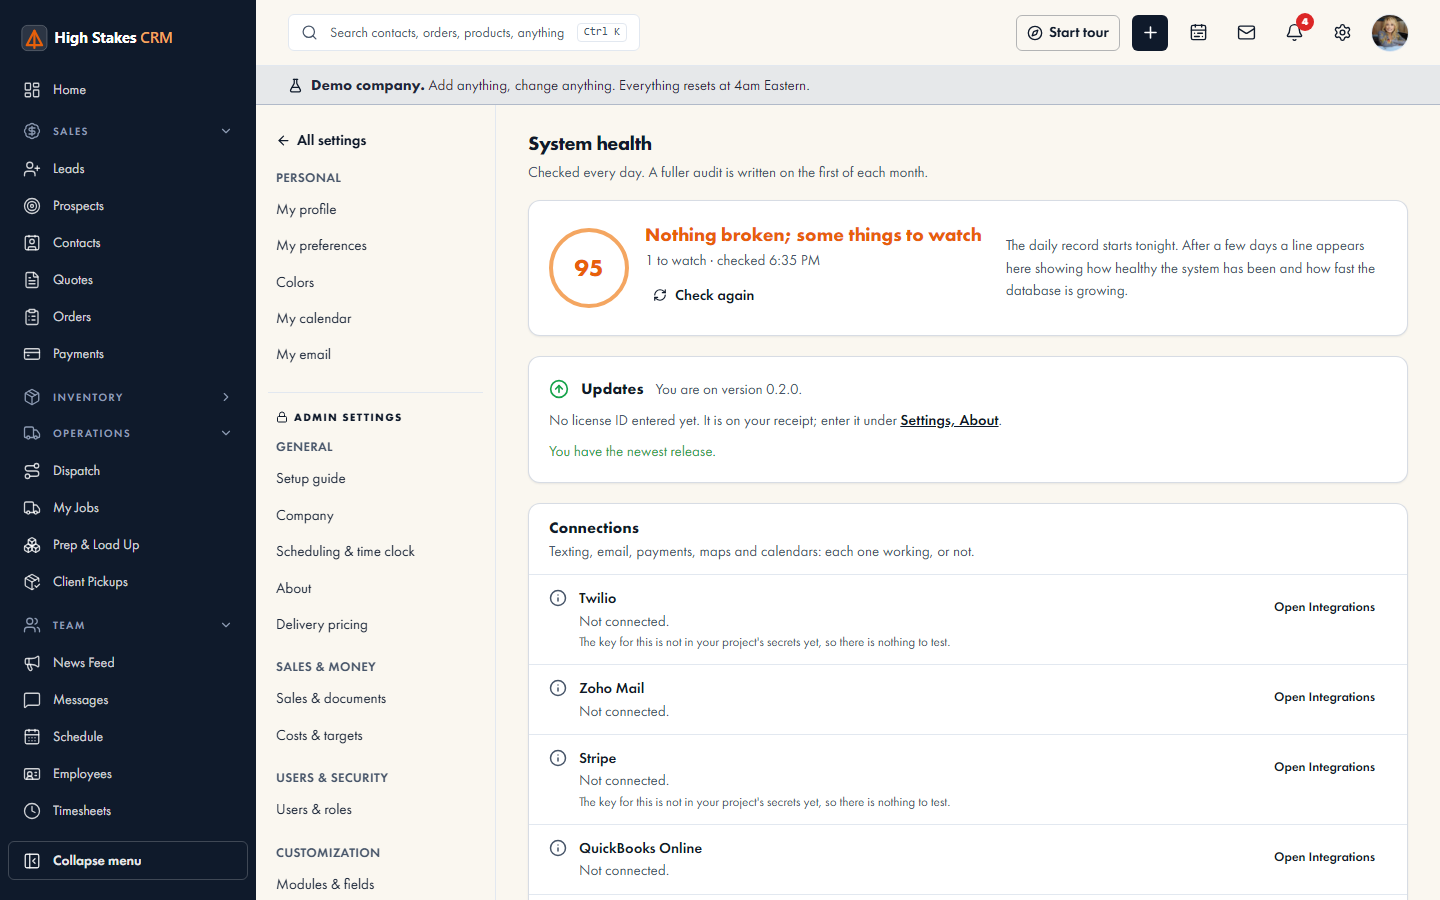
- Check it is healthy. Settings, Tools, Health shows every check and a button to test each key. Green across the board means you are done.
What the two accounts are
Supabase
A database company. Your data lives in a Postgres database in your account, with logins, file storage and the small programs the app runs on the server. You can export all of it at any time. If you ever leave, you take the database with you.
Netlify
A website host. It builds the app from the code you were given and serves it at an address like yourcompany.netlify.app, or your own domain. There is no server to look after.
Keys, and where they go
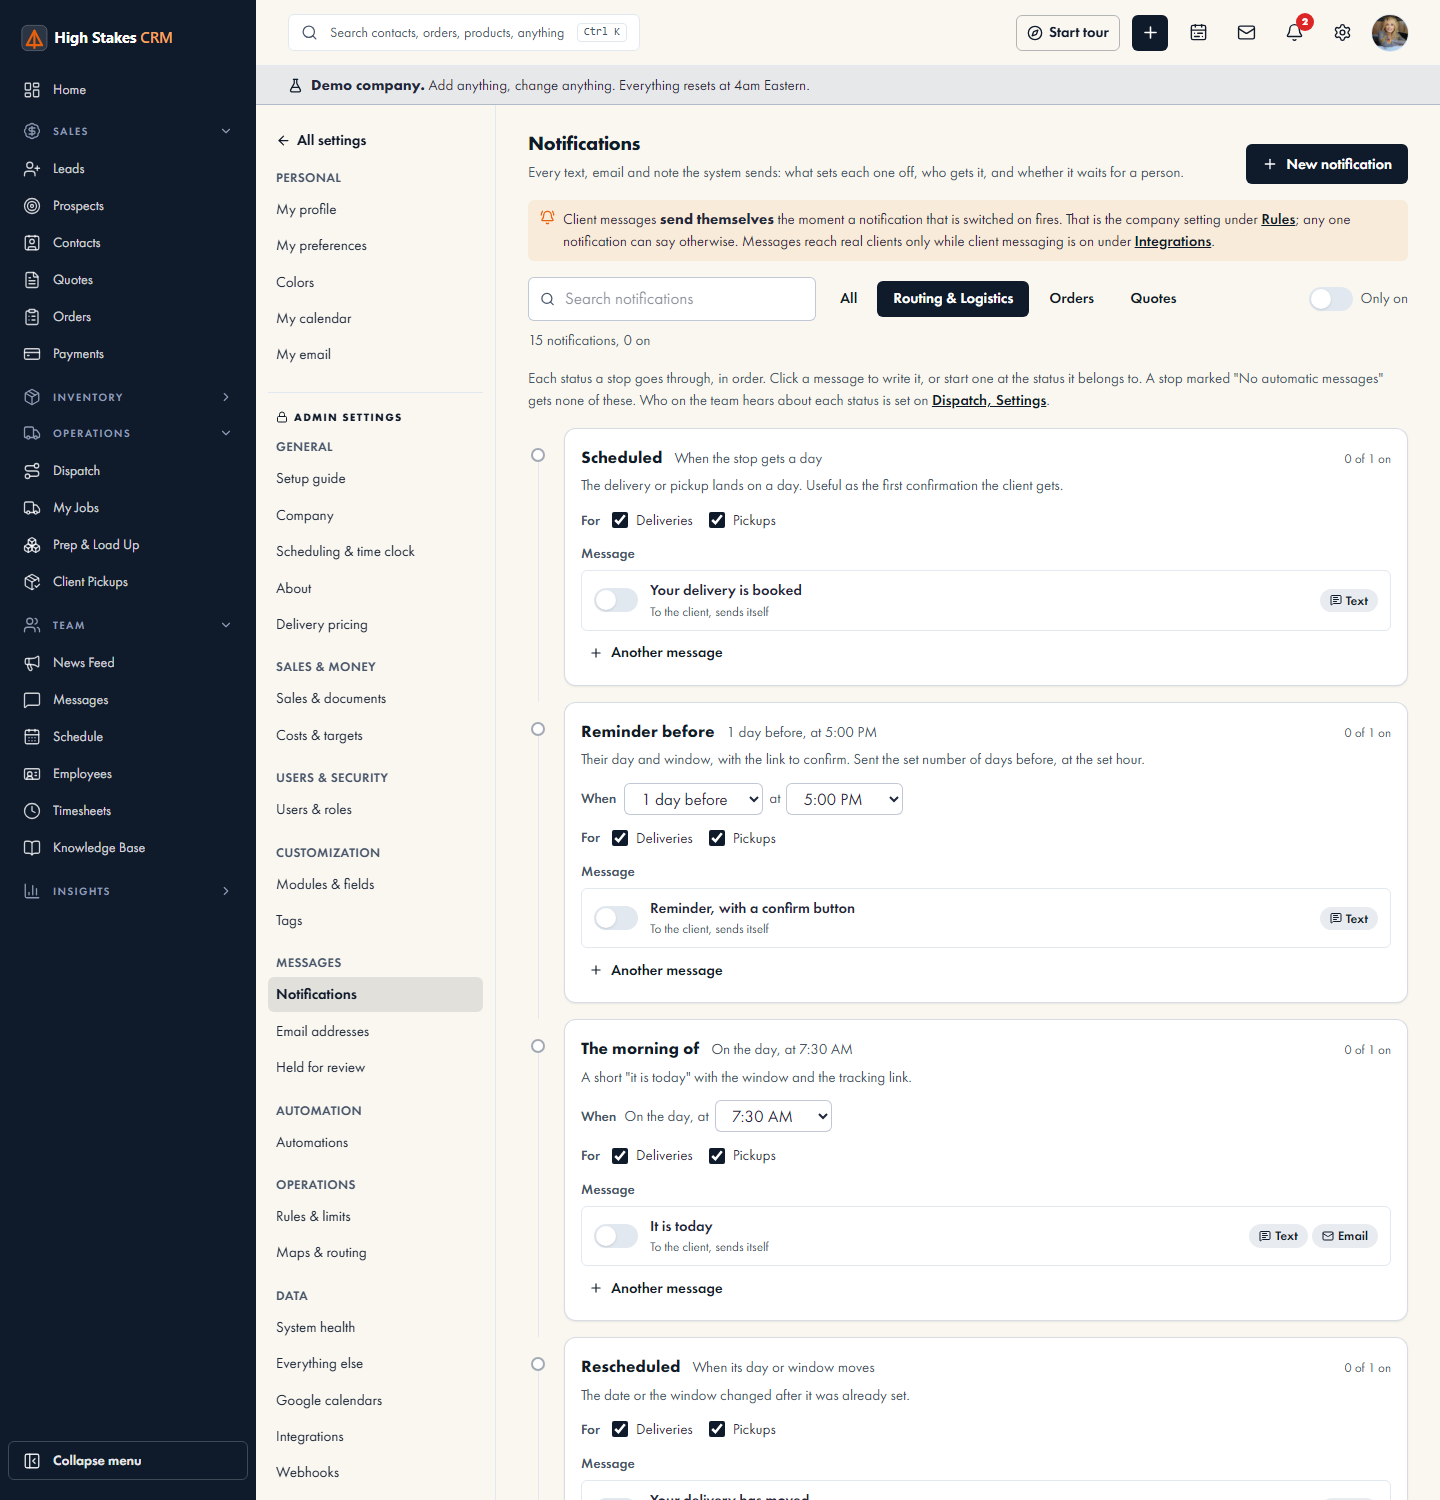
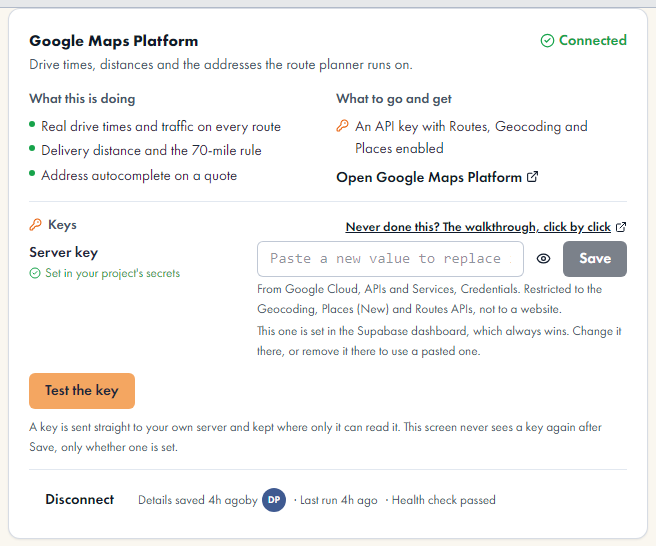
Each outside service gives you a key: a long string of letters. In older systems you typed those into a settings file. Here, every key is pasted into a box on the Connections page inside the app (Settings, System, Connections), which sends it straight to your own server and never keeps it in the browser. A Test button beside the maps, payments, email and Claude keys asks the service whether the key works; texting (Twilio or RingCentral) has its own page, Settings, Phone & texting, with a test text; the rest (Zoho Mail, QuickBooks, Google Calendar, Zoom) connect by signing in, once the app keys from that service's developer console are set on your server; those are optional, and guided setup covers them. The only keys that go anywhere else are the two addresses Netlify needs to find your database, and those are in the Netlify walkthrough.
Would rather type?
Steps 1 and 2 can be one command instead of two walkthroughs. In your copy of the code (Netlify walkthrough, part A), after npm install, run npm run setup. It asks for your Supabase reference ID, the database password and a site name, then links the project, pushes the database, deploys the server programs, makes the Netlify site and deploys the app. It stores nothing. The first login (step 3) is still made in the Supabase dashboard. If it stops, it says which step, and you carry on from that walkthrough.
Updates
A release is a new version of the app, with notes and sometimes a change to the database. Nothing updates itself, and you never have to take one.
How you hear of it: Settings, Tools, Health lists every release newer than yours, with its notes and the steps to take it. A security fix is marked as one.
If your code is a copy of the template repository, taking a release is three lines typed in your copy's folder. The first is done once, the other two for each release:
git remote add upstream https://github.com/Enaybil/high-stakes-crm.git(once)git fetch upstream --tagsgit merge vX.Y.Z, with the version the release names.
Then git push; Netlify rebuilds the app by itself. The UPDATING.md file in your copy says the same, with what to do if git reports a conflict.
The database side is the same whichever way you installed. Settings, Tools, About shows the schema version you are at. Run every migration numbered above it, in number order, in the Supabase SQL editor: they are in supabase/migrations in your copy, and in the migrations folder of a fresh download of the install folder (top of this page, with your license ID). Each one records its own number, so About moves with it.
If something goes wrong
Nothing in these steps can lose data, because there is no data yet. If a step fails, stop, take a screenshot of the screen that refused you, and write to the email on your receipt with the step number. Most setup problems are one wrong click and take a minute to fix once someone sees the screen.
Would rather not do any of this? Guided setup does it with you on one video call, on your accounts, with nothing of yours kept. $500, added when you buy.